Welcome to my tutorial for the Windows Server Update Services Part 4: Getting to know your WSUS console
Please note: If you want to use the reports from the WSUS console, you will need to install the Microsoft Report Viewer Redistributable. For Windows 7, 8, 8.1 and Server 2012/2012R2, use the Microsoft Report Viewer Redistributable 2008 (https://www.microsoft.com/en-us/download/details.aspx?id=6576). For Windows 10 and Server 2016 and newer, use Microsoft Report Viewer Runtime 2012 (https://www.microsoft.com/en-us/download/details.aspx?id=35747).
Before we jump into the management, let’s get familiarized with the WSUS console first.
If you want to start the WSUS console from your WSUS server, then there is not else to do. If you want to start it from another computer, you have to install the console first.
For Windows 10 1809 or later this console is available as optional feature. Open “Settings”, click on “Apps”, then “Optional Features” and finally “Add a feature”. You need the “RSAT: Windows Server Update Services Tools”.

WSUS RSAT Tools
You can open the console from the start menu either by starting to type the name or search for the link in the “Windows Administrative Tools” folder.
Table of Contents
Summary
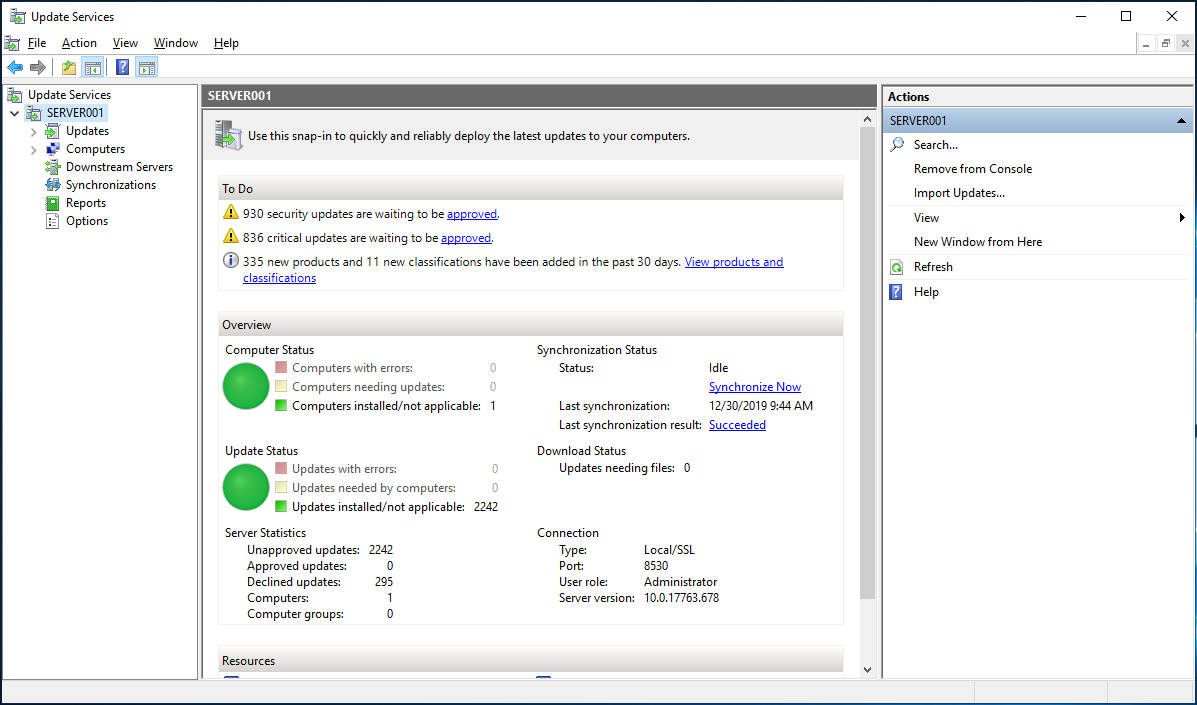
This is your WSUS console with the server summary page (When you click on your server’s name. This page will give you a brief overview about your computers and updates plus important notification about updates not approved or changed products/classifications.
The WSUS console
If your WSUS has important information or items requiring your attention, it will list them in the To Do section Which items are to be shown can be changed under “Options” and “Personalization”.
The summary also gives you a brief status on your computers and updates plus the most recent synchronization.
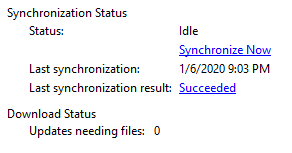
Synchronization status
Updates
This section covers all synchronized updates. The node “Updates” will just give you an overview about your updates. If you need more information, you need to use the node “All updates” or of the others (Which nodes are present depends on your products and classifications).
I personally use the “All updates” node all the time, but your workflow might be different.
My recommendation is to add a few more columns to your console as this will give you more information about your updates. To add columns, right click on the table header and select the columns. Afterwards select “Apply to All Views” as this will updates your selection to all updates sections. My console usually consists of these columns:
-Installation status
-File status
-Supersedence
-Title
-Classification
-KB article
-Failed count
-Needed count
-Installed count
-Not applicable count
-No status count
-Installed/Not Applicable Percentage
-Release date
-Approval
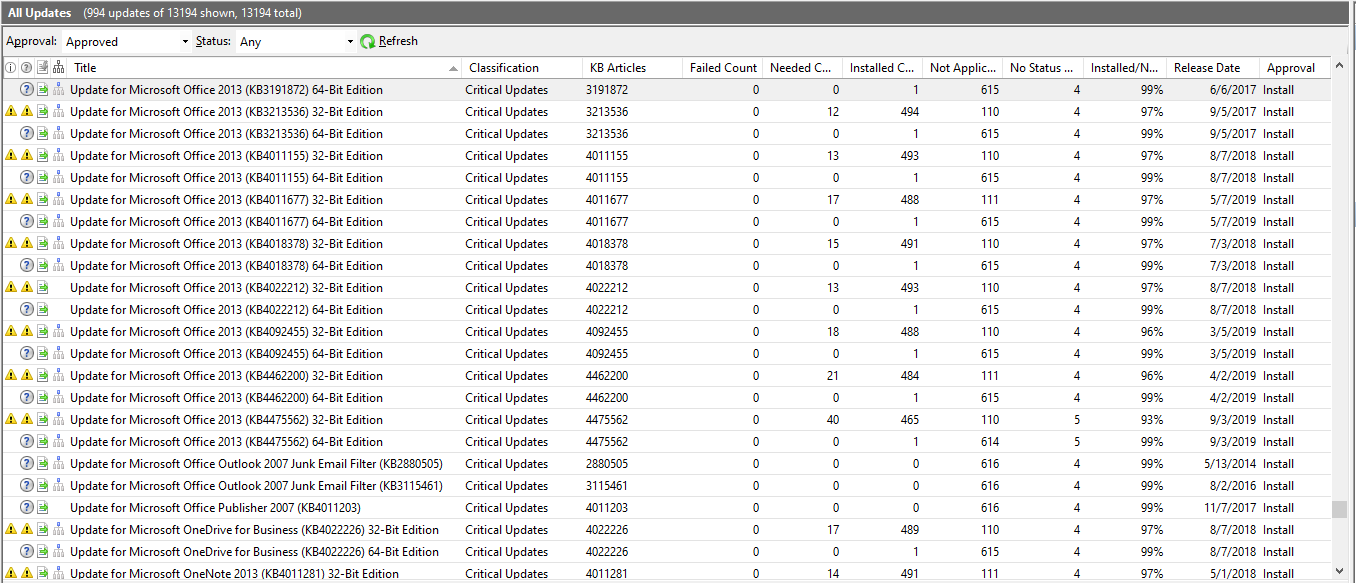
Customized update list
Computers
This section contains every computer (Client or server), which has contacted your WSUS (and has not been removed -obviously-).
The node “All Computers” contains every computer in the database. There might be more groups below, which allow you to separate your computers into logical groups (Like update waves or locations).
My recommendation is to add a few more columns to your console as this will give you more information about your updates. To add columns, right click on the table header and select the columns. Afterwards select “Apply to All Views” as this will updates your selection to all updates sections. My console usually consists of these columns:
-Installation Status
-Name
-IP Address
-Operating System
-Version
-Failed Count
-Needed Count
-Installed Count
-Not Applicable Count
-No Status Count
-Installed/Not Applicable Percentage
-Last Status Report
-Last Contact
Downstream Servers
“Downstream servers” gives you status information about your downstream servers. These are WSUS servers, which download updates from your WSUS and distribute them locally to their clients.
Synchronizations
Under “Synchronization” are all synchronization jobs listed. Each job contains information about why the job started (manual or scheduled), if the job failed or succeeded and how many updates have been added, changed or removed/expired.
This allows you to easily detect if you WSUS has trouble downloading new updates.
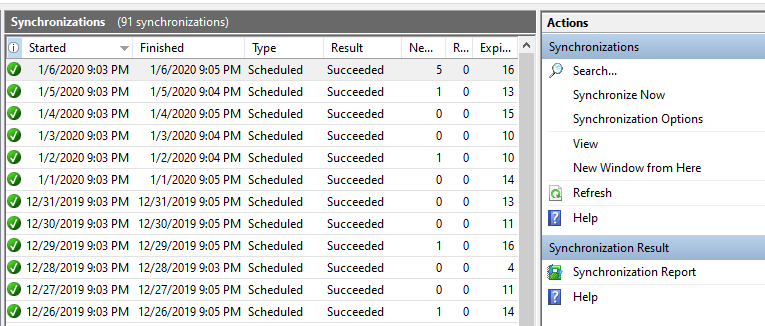
List of synchronization jobs
Reports
The “Reports” nodes contains pre-defined reports, which give you an overview about your update situation. You can use these or create a report per computer or update (I will show this later).
Options
Under “Options” are all customizations available.
“Update Source and Proxy Server” lets you change the source of update (Either from Microsoft or from another WSUS server) and your WSUS’ proxy settings.
With “Products and Classifications” you can add or remove products you have started or stopped to use and add more classifications if you do not receive all updates you require.
The link “Update files and Languages” lets you add or remove languages. You can also define it you want to updates directly after synchronization or after it has been approved only. I recommend to check this option for the first synchronizations and unchecked after you know your way around WSUS.
“Download express installation files” changes how WSUS deploys updates. With express installation files, your WSUS downloads larger updates (meaning more download and storage capacities), but your clients will need to download smaller packages. Use this option if you have clients connecting to your WSUS will very limited bandwidths.
The “Synchronization Schedule” lets you automatically search for new updates and download them. You can set a time for synchronization and how often per day it synchronizes. Unfortunately it is not possible to sync less often than daily.
“Automatic Approvals” allows you to approve update for certain or all groups when they arrive. This might be useful for Windows Defender definitions, but in general I would not approve untested updates.
The “Advanced” tab allows you to define that updates for the WSUS role are approved automatically without use a rule (Which should be enabled) and that newer revisions of approved updates are approved too. This is useful as Microsoft sometimes releases a new versions of an update, which you otherwise be not available for your clients.
With “Computers” you define whether you define your client groups via the WSUS console for with the registry entry. I will explain that concept later.
The “WSUS Server Cleanup Wizard” will perform some maintenance tasks (Most important deleting unneeded updates files). This wizard should be run monthly.
Warning: While the wizard runs, the WSUS service will be stopped. This means that you clients cannot download updates. Also be aware that this wizard might run up to 30 minutes (or longer), if not run regularly.
“Reporting Rollup” is only important if you have downstream servers. This options defines if update and computer information should be rolled up to this server or not. If you roll up the information, you can check the status of every system from this WSUS console instead of checking each downstream server individually.
If you would like to be notified about the current state of your WSUS, you can use “E-Mail Notifications”. You can receive an e-mail every time your WSUS synchronizes and/or daily or weekly status mails.

Mail notification for new updates
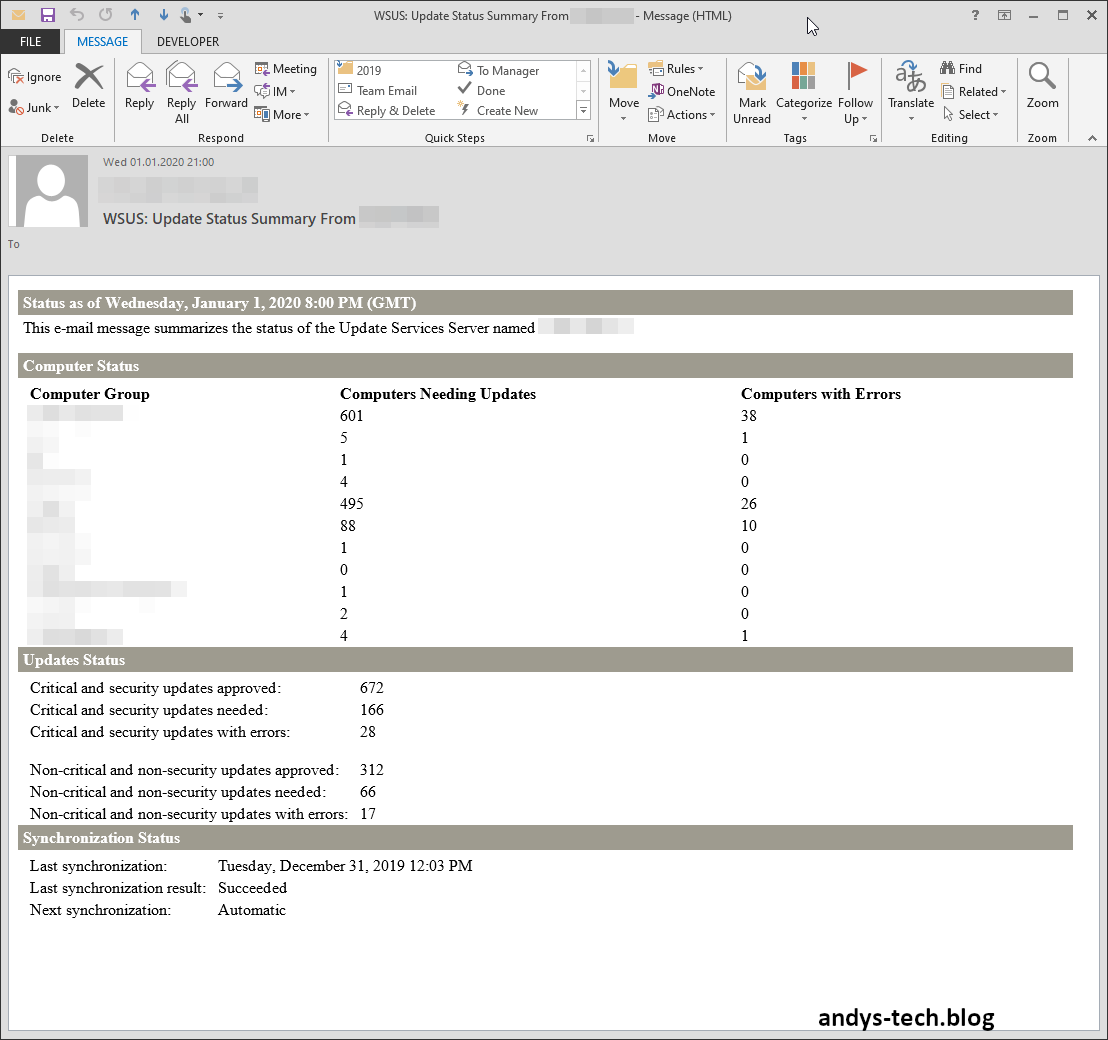
WSUS status mail
The “Microsoft Update Improvement Program” allows you to join the program. By doing so, your WSUS will send data to Microsoft helping the developers to improve the update components. Check your company policies, applying laws and regulations and other rules you have to follow if you are allowed to send information to Microsoft.
The “Personalization” link allows you to tweak some settings the way you want. You can choose to show computer and status from WSUS downstream servers or not. Plus you can choose which items are to be shown in the To Do section of your server’s summary. The settings for the downstream servers are up to you (And only important if you are using downstream servers). For the To Do list, my recommendation is to show all items.
The last point “WSUS Server Configuration Wizard” simply restarts the setup wizard from the first run. All options in the wizard can be changed via the “Options” tree node too.